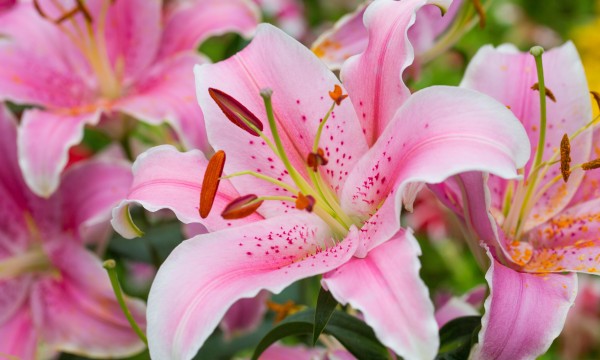
Do you love your lilies and want more? It'll take a bit of work and dedication, but you can get your lilies to propagate successfully with these different methods.
- Browse Categories
- All Tips
-
Home & Garden
- All
- Appliances
- Bathroom
- Cleaning
- Crafts
- Decorating
- Electrical
- Flooring
- Furniture
- Garage Door
- Gardening
- Green Living
- Heating
- Home Alarm Systems
- Home Maintenance
- Home Remedies
- Home Security
- Home Staging
- House Sitting
- Junk Removal
- Kitchen
- Lawn Care
- Lock Systems
- Moving
- Outdoor Living
- Pest Control
- Plumbing
- Renovation
- Roofing
- Snow Removal
- Storage
- Tools
- Tree Service
- Health
- Family
- Travel
- Auto
- More Tips

3 ways to get lilies to propagate
October 9, 2015

Few plants are as versatile as the lily, a genus of mainly hardy bulbs with over 90 species.
They vary widely in:
- flower size and form
- height
- colour
- flowering period
- planting schemes
- the growing conditions they need
1. Propagating lilies by scaling
Use only plump, healthy bulbs.
- Remove any withered or damaged scales and discard them.
- Separate the plump, healthy scales by breaking them off as close to the base as possible, taking a bit of the basal plate with the scale.
If only a few new bulbs are wanted, take two or three scales. If your lily is valuable, try just a few scales the first time. If you are successful with that bulb, you can scale again.
- Wash the scales thoroughly; let them dry for several hours or overnight.
- Plant or place the scales in a plastic bag, with enough slightly moist peat moss to keep them separate. Add a pinch of sulphur as a fungicide.
- Seal the bag and label with the name of the variety and the date.
- Put the bag in a warm place, such as a cupboard or closet.
- Check the bag every week or two to see that the moisture is maintained. If the scales show signs of mildew or other fungi, wash them and rebag.
- In eight to 10 weeks the miniature bulbs, called bulbils, should be formed along the bottom edge of the scale. When the bulbils reach six millimetres or more in diameter, they should be chilled in your refrigerator at about 4°C (39°F) for six to eight weeks.
- The original bag with scales can be refrigerated for the cooling period, or the bulbils can be separated and put into a fresh bag with moistened peat moss and sulphur. Make sure to check the temperature in various sections of your refrigerator to determine the best location.
2. Increasing lilies from aerial bulbils
Aerial bulbils are small green or purple-black bulbs that grow in the leaf axils of lilies like the tiger lily and several of its hybrids.
- Detach the bulbils from the lily's stem in late summer or fall when they are loose and easy to remove.
- Plant them three centimetres (one inch) deep and three centimetres (one inch) apart in seed flats. They will do well in a mixture of equal parts of soil, peat moss, and sand.
- Tip: Grow them through the winter in a cold frame or in a sheltered location under a loose mulch. When the weather warms up in the spring, you'll be able to move the flats into partial shade, so make sure to water and feed the bulbils just as you would potted lilies. In fall, you can plant the new lilies in the open garden.
3. Making new lilies from bulblets
Many lilies form bulblets on top of the bulb. Some also form bulblets at the base of the mother bulb. Mounding the soil around the stem encourages this.
- If these offsets are small and do not have roots, plant them in the same way as bulbils.
Larger bulblets with established roots can be planted directly in the ground, here's how:
- In late summer remove the soil from around the stem of each plant and carefully detach the bulblets.
- Smaller bulblets, less than one centimetre (half an inch) in diameter are best grown in seed flats for a season before you plant them in the garden. The larger ones should be planted directly in the garden.
- Spread three to five centimetres (one to two inches) of soil over them, relative to the size of the bulblets.
With these practical hints, you'll have lilies in excess! Then it's up to you to figure out where the best spot is for them, or simply use them as gifts for family and friends.


